10 Easy Ways to Improve Your Succulent Photography
Succulents captivate us with their sculptural forms, colors, and patterns—but photographing them beautifully takes a bit of strategy. Whether you’re a beginner or a creative hobbyist refining your eye, these tips will help you capture the natural texture and personality of succulents through your lens.
1. Understand Your Subject
Spend a moment studying your plant before you start shooting. Notice its form, color gradients, and the direction of its growth. Every succulent is a little architectural wonder—and understanding its structure helps you frame it intentionally.
Pro tip: Observe how light changes the plant throughout the day. Soft, natural light will always reveal the best details.
2. Use Natural Light
Natural light enhances the vibrant tones of succulents without the harsh shadows of artificial setups. The “golden hours”—shortly after sunrise and before sunset—give you the warmest, most flattering glow.
- For indoor shoots, use a window with bright but indirect light.
- Diffuse harsh sunlight with sheer curtains or a white cloth.
- Too much light can wash out detail, so look for even, gentle illumination.

3. Choose the Right Background
A clean, simple background keeps attention on your subject. Neutral tones like white, gray, or soft beige work well. You can also use natural textures—wood, linen, or stone—for an organic look that enhances the plant rather than competes with it.
4. Get Up Close and Personal
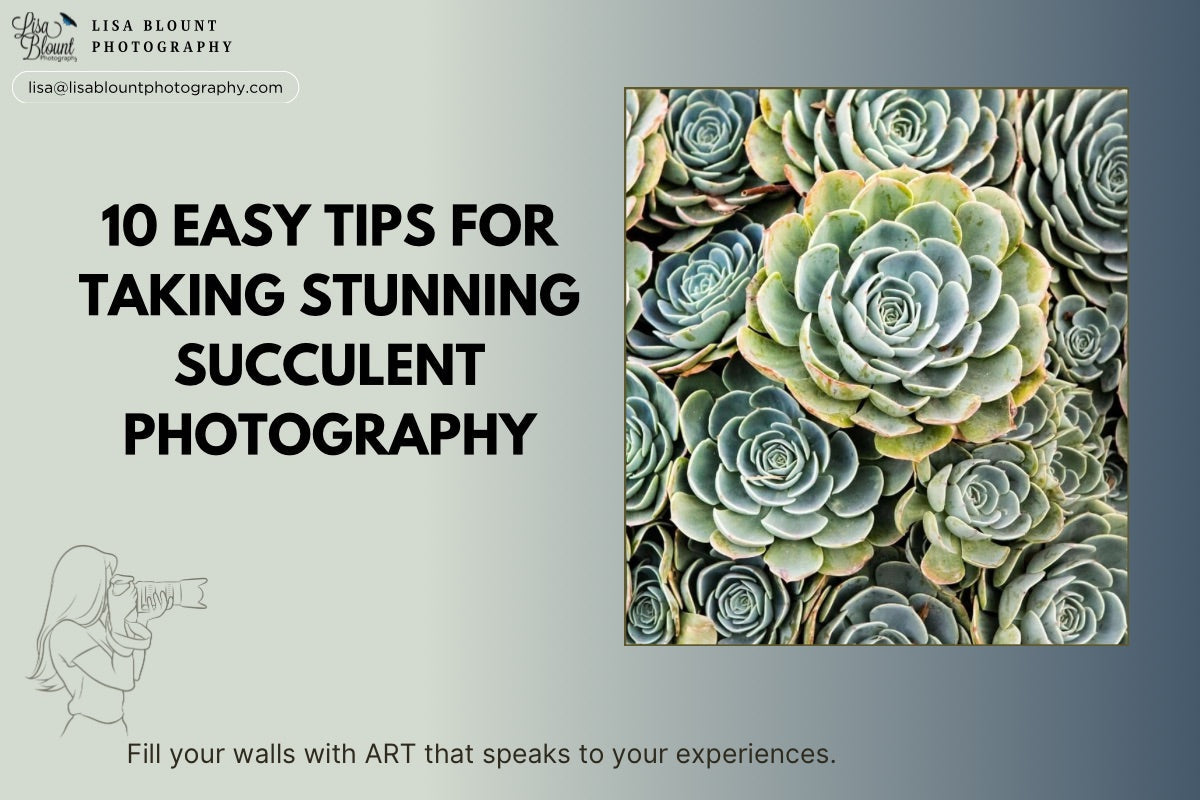
Succulents are full of mesmerizing geometry. Use a macro lens or your camera’s close-up mode to capture details like the spiraling rosettes or the powdery texture of the leaves. Focus on one key area—like the center or tip—and let depth and texture do the talking.
5. Experiment with Angles
Don’t stop at the top-down shot. Try side angles, or shoot slightly below for a more dramatic perspective. Change your height, tilt the camera, and rotate the plant if needed. Some of your best compositions will come from the unexpected.

6. Play with Depth of Field
A shallow depth of field (low f-stop like f/2.8 or f/4) creates that creamy, blurred background that makes the plant pop. Smartphones can mimic this with portrait mode—just make sure your focus point is crisp and clean.
7. Use a Reflector (or a DIY One)
Reflectors help soften shadows and illuminate details. If you don’t have one handy, use white foam board, cardboard, or aluminum foil. Hold or place it opposite your light source to bounce brightness back onto your succulent. Outdoors? Adjust your position to let sunlight wrap gently around the plant.
8. Keep Your Succulents Clean
Dust dulls color and hides texture. Before shooting, gently clean each leaf with a soft brush or cloth. This simple prep makes a big difference when the camera captures fine details.
Note: Always handle with care—succulent leaves bruise easily!
9. Incorporate Props and Containers
Planters, pebbles, or textures can elevate your photo’s aesthetic—but keep it subtle. The star should always be the plant. Try neutral or complementary containers that enhance color contrast, and avoid props that feel busy or pull focus.
10. Edit Your Photos Thoughtfully
Editing is the final polish, not the rescue mission. Use tools like Lightroom, Photoshop, or Snapseed to adjust exposure, contrast, and sharpness. Enhance natural colors rather than altering them completely.
Goal: Highlight the natural patterns and hues you worked so hard to capture—don’t oversaturate or over-sharpen.

Bonus: Sharpen Your Overall Photography Skills
- Be patient: Great photos rarely happen on the first click.
- Practice constantly: Shoot the same subject in different light, angles, and compositions.
- Connect with others: Join online communities or follow nature photographers for inspiration.
- Study the work you admire: Analyze what draws you in—light, focus, composition—and apply it.
- Experiment freely: Rules guide you, but creativity defines you. Try new techniques, and make it your own.
Photography is an art of patience and observation. The more you practice, the more you’ll start to see light, shadow, and color as storytelling tools. Whether you’re capturing a single rosette or a garden full of them, remember to slow down and enjoy the process.
Happy snapping! ~ Lisa


Leave a comment
This site is protected by hCaptcha and the hCaptcha Privacy Policy and Terms of Service apply.